This post may contain affiliate links. As an Amazon Associate I earn from qualifying purchases, but there is no additional cost for you. Please see my Disclosure page for more information.
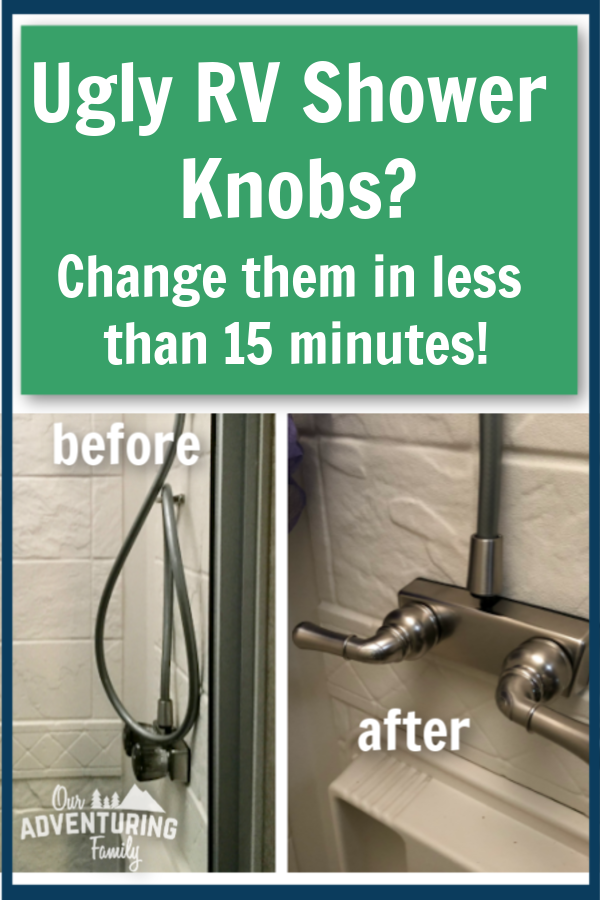
Awhile ago I shared why you need to winterize your RV in a timely manner every year, and I mentioned that we had switched out the shower knobs in our RV.
It was a small, easy change, but it’s made such a difference in our RV shower experience.
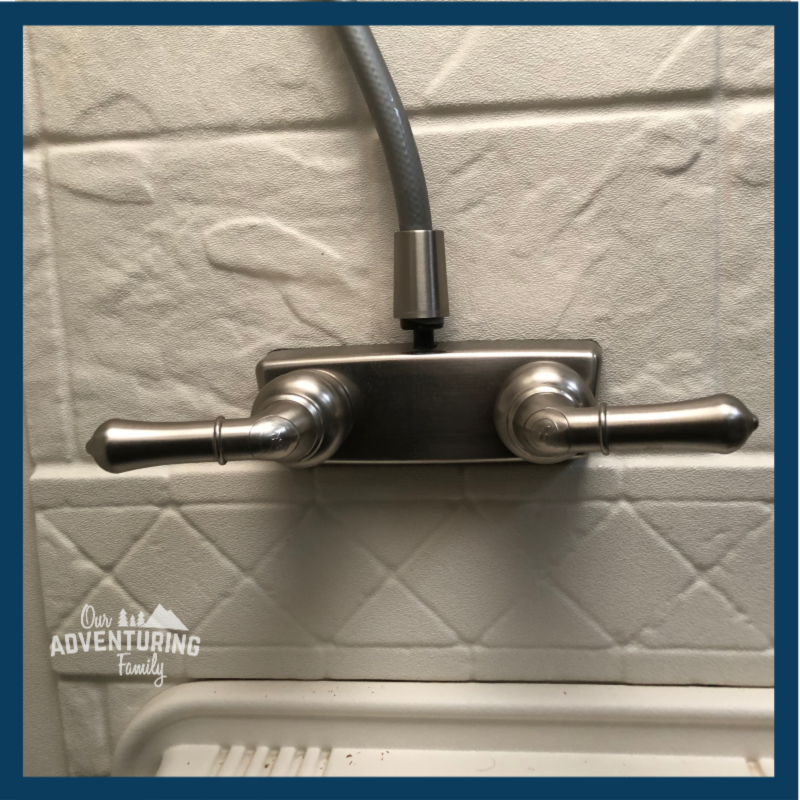
Before, it was difficult to tell which direction to turn the old knobs to get the right temperature, and how far each one had been turned. Our showers were always too hot or too cold and either blasting out or trickling down.
Now it’s super easy to see at a glance how high the water has been turned up and how hot or cold it will be. Less water wasted, and a more comfortable shower. Win-win.
Like I said, it’s easy to do, but you do have to plan ahead.
First, order your replacement handles and Teflon tape. We bought this handle assembly and it was easy to install and we have not had any issues with it.
Teflon tape can be found at your local big box store, or just add it to your Amazon cart when you order your new shower handles. It’s also known as PTFE thread seal tape.

How to change your RV shower handles in 15 minutes or less
1. Make sure the water is turned off. If you’re hooked up to an external water hose, disconnect it. Then turn off the water pump and turn the shower knobs on so that any pressurized water in the lines is expelled. You don’t want water spraying all over when you start disconnecting everything.
2. In your RV or trailer, locate the access hatch on the wall outside the shower.
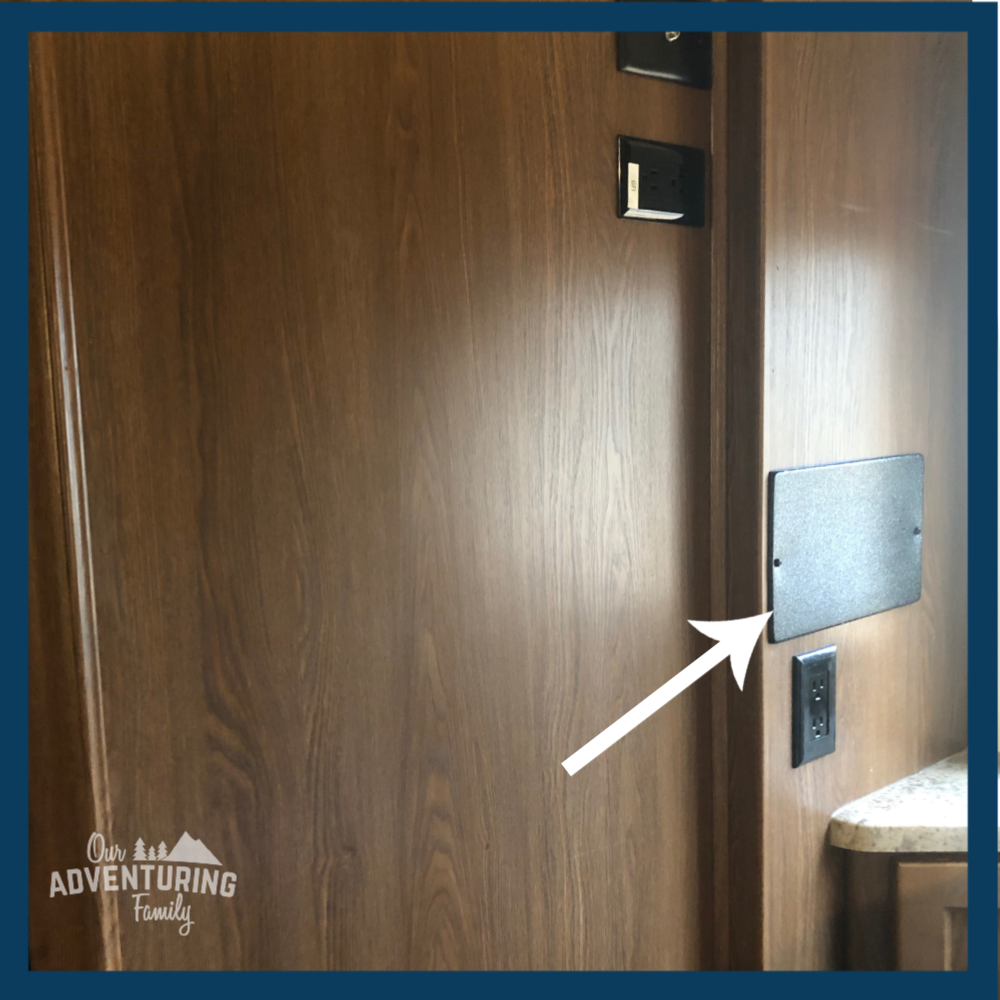
3. Open the access hatch and you’ll see where the water pipes attach to the back of the shower handles.
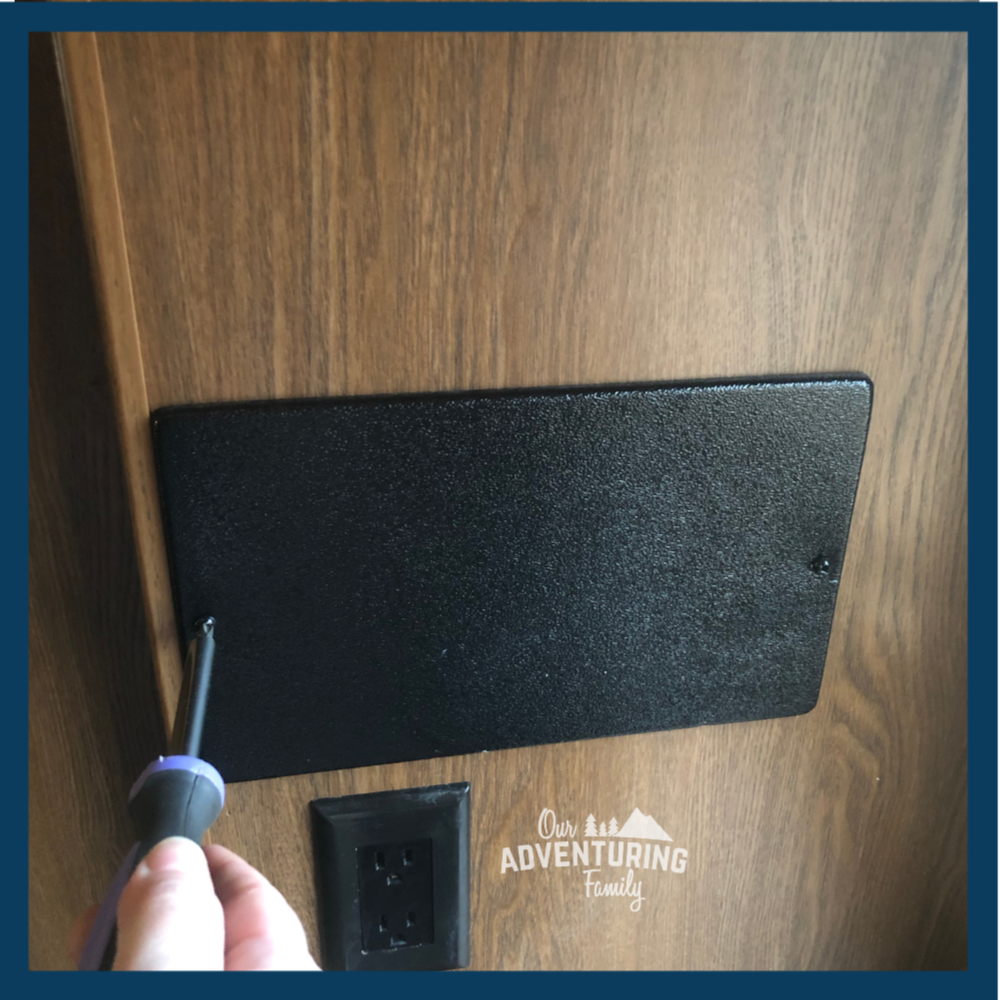
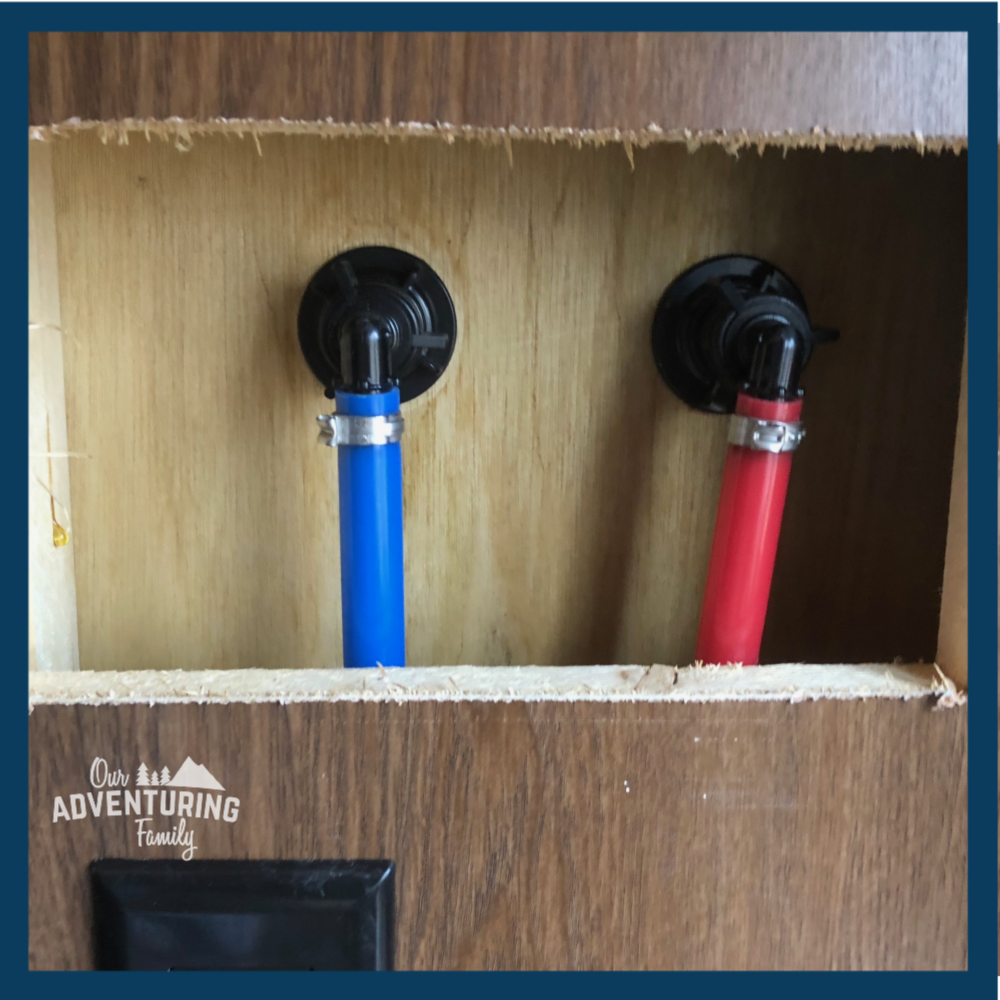
4. Unscrew the plastic bolt on the end of the colored water pipe, separating it from the threaded tube.
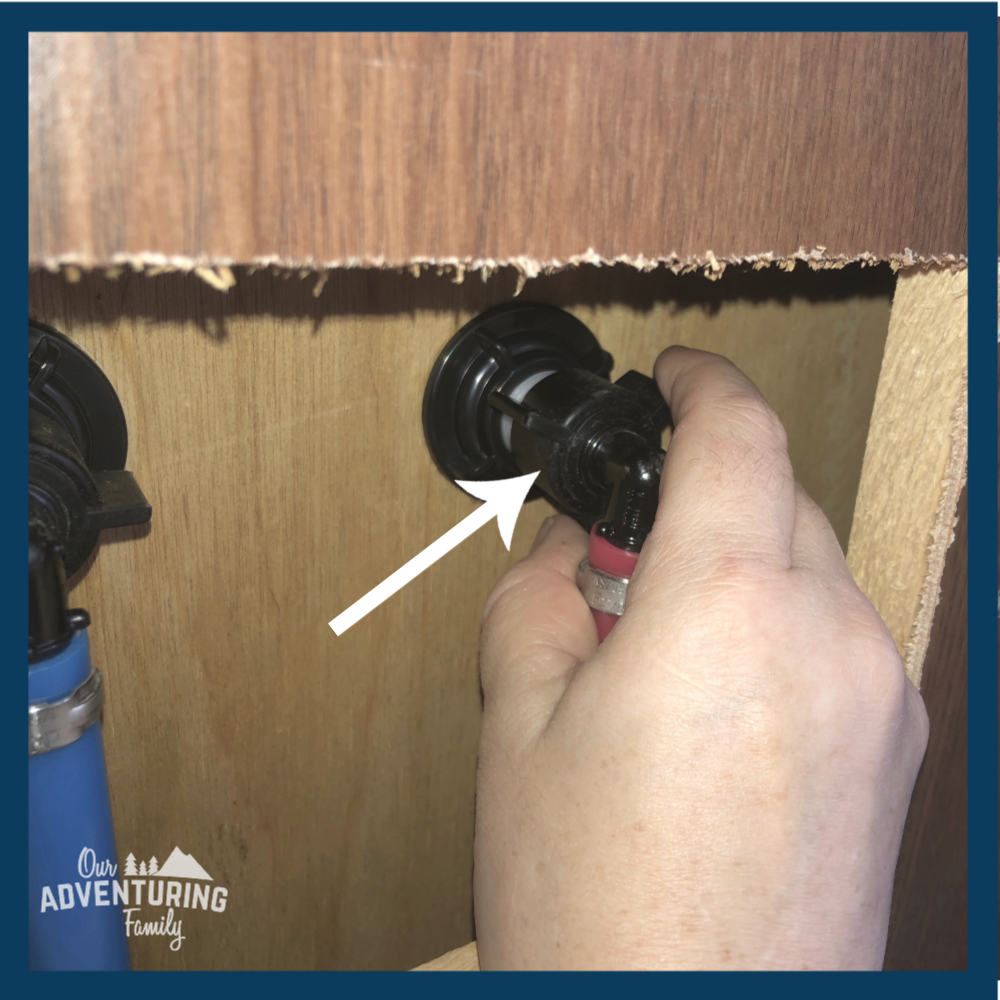
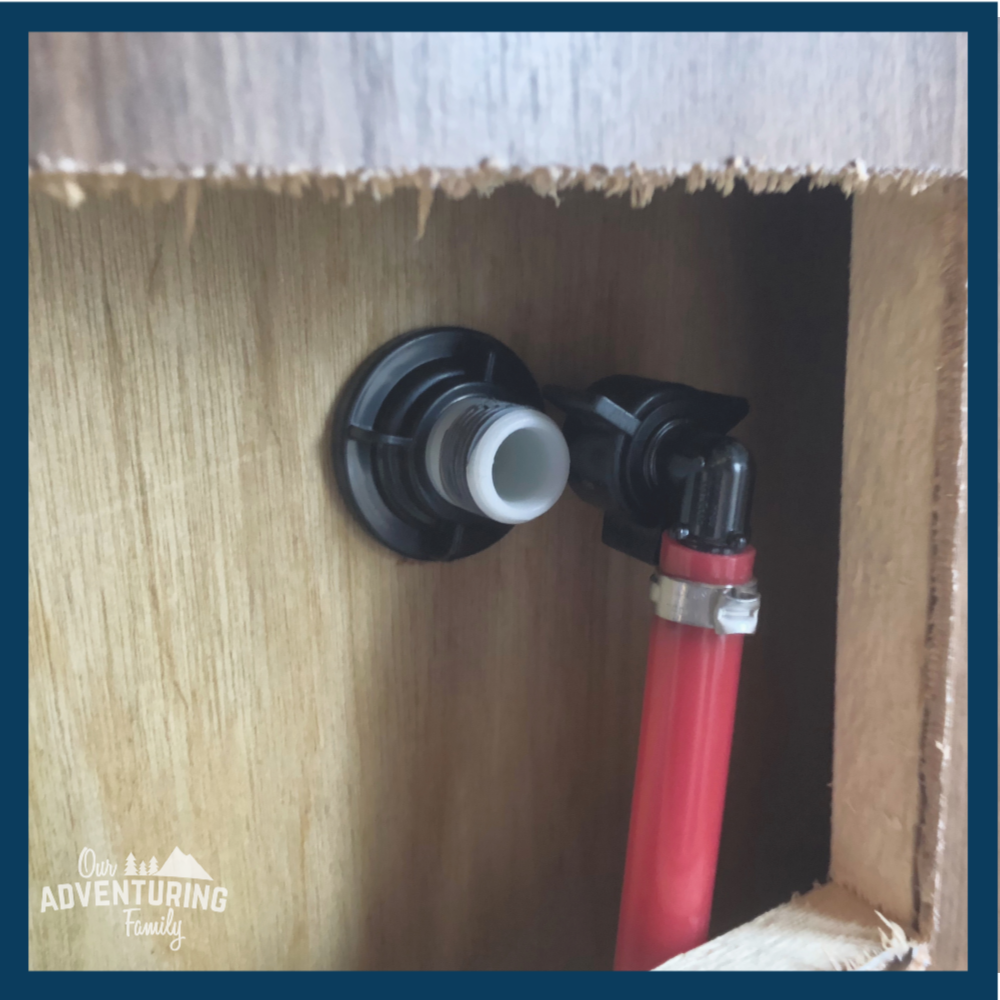
5. Then unscrew the plastic bolt that holds the threaded tube in place against the wall.
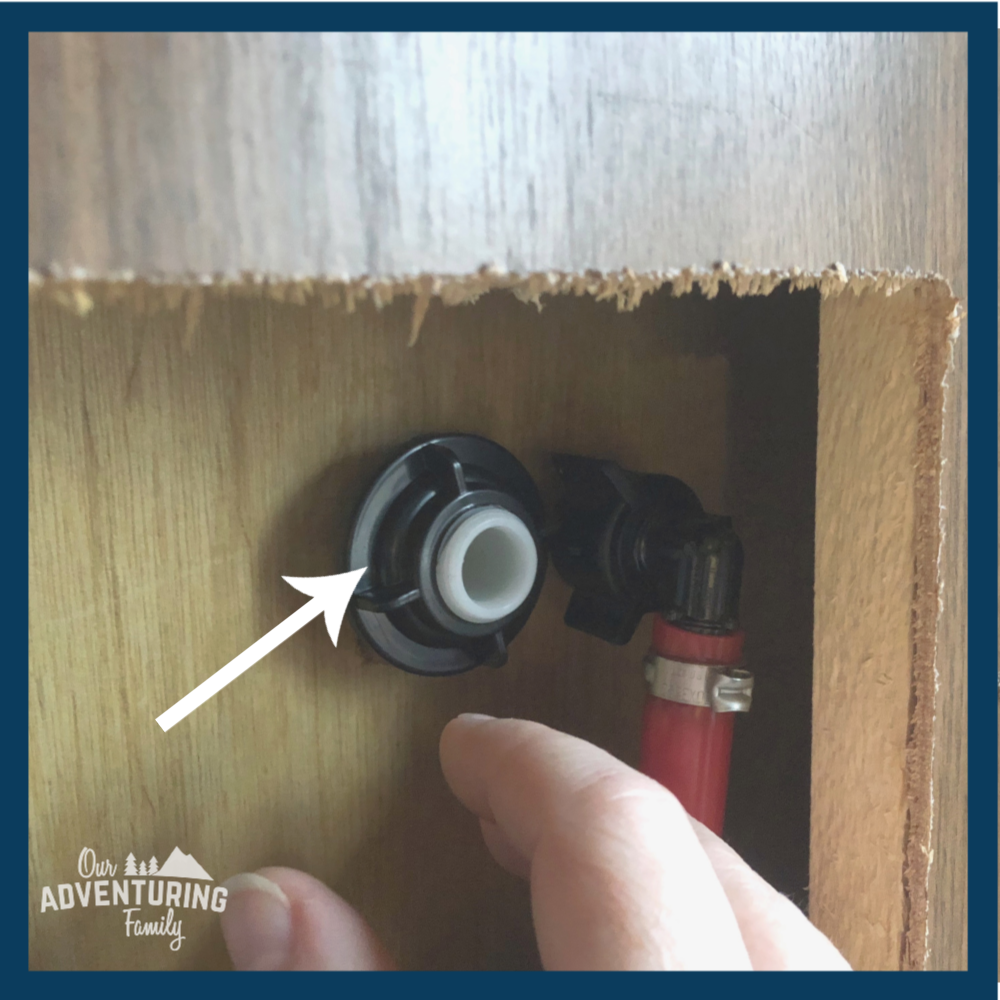
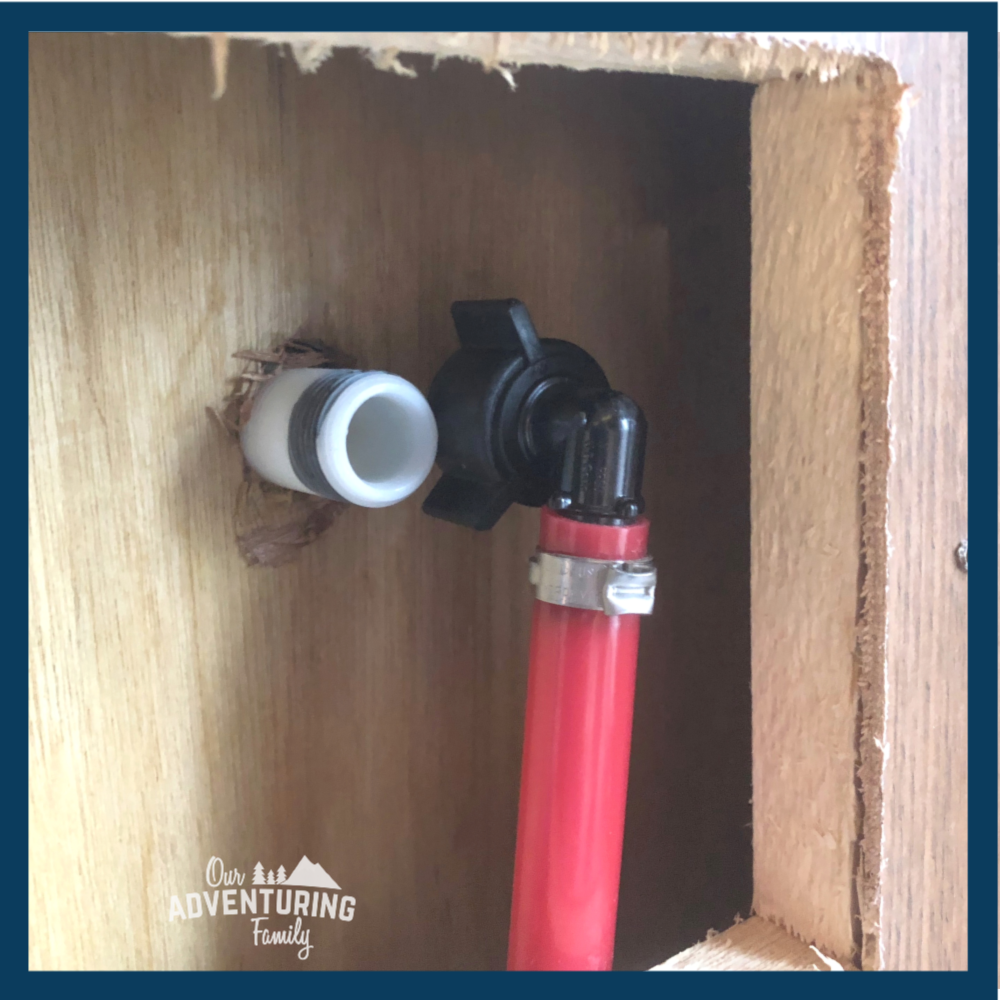
6. Repeat steps 4 and 5 with the other water hose attachment.
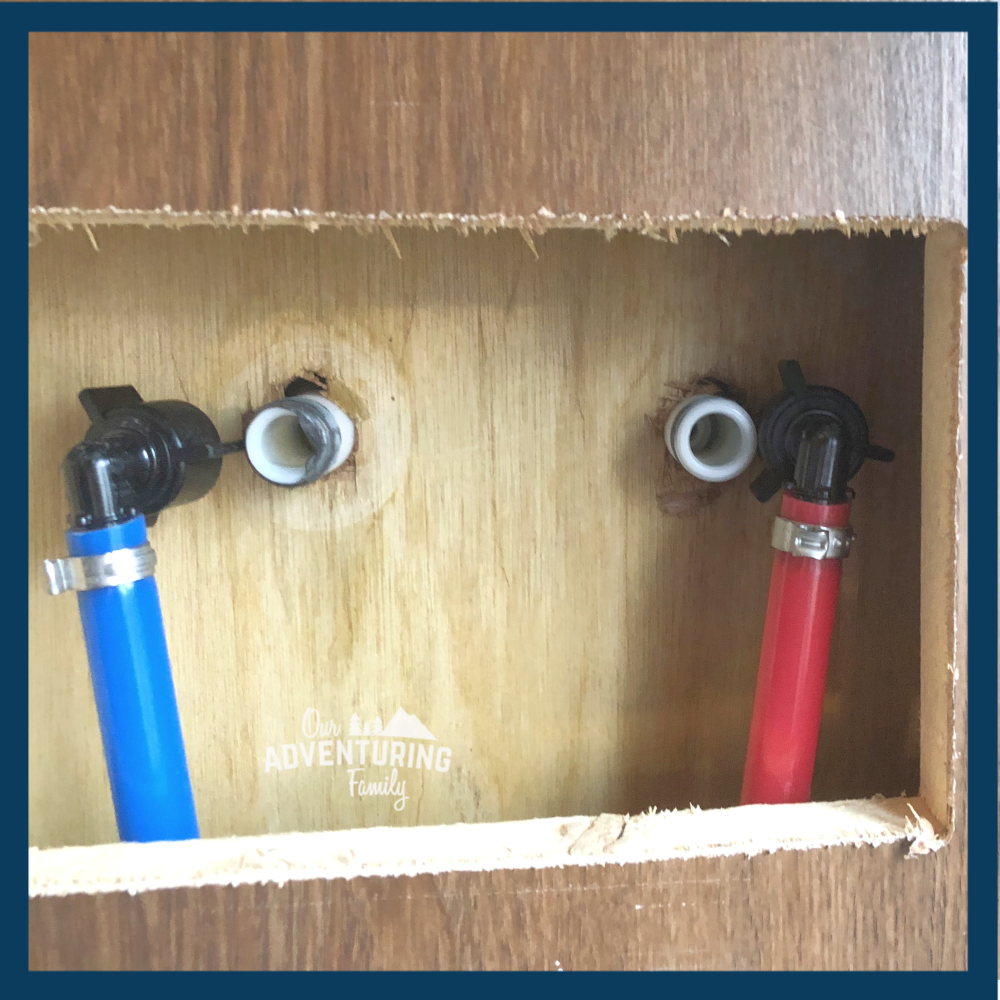
7. Go into the shower, and pull the old knob assembly away from the wall. It should come away easily.
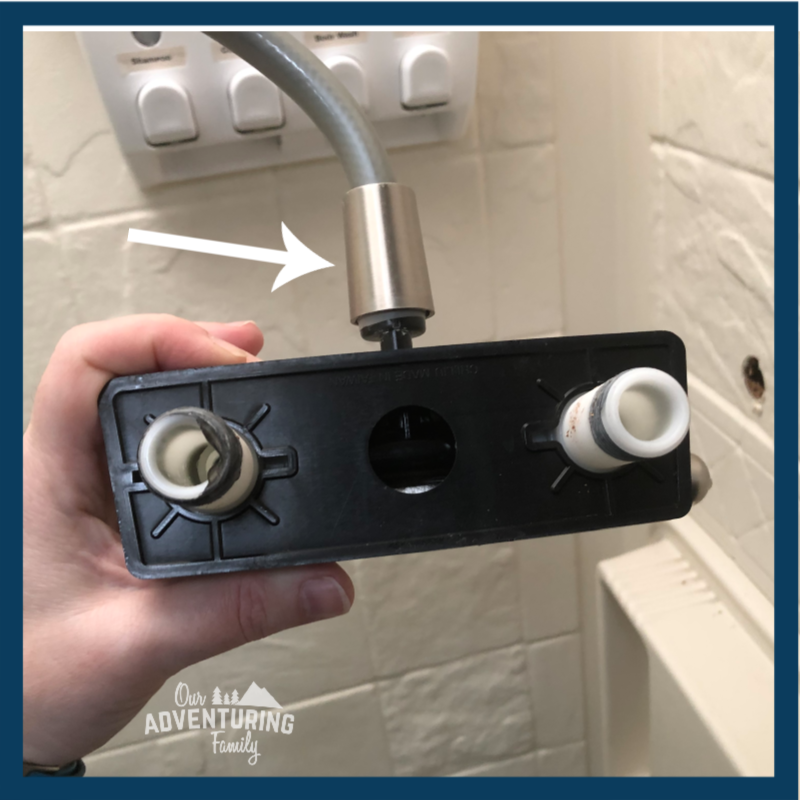
8. Disconnect the shower head hose from the knob assembly.
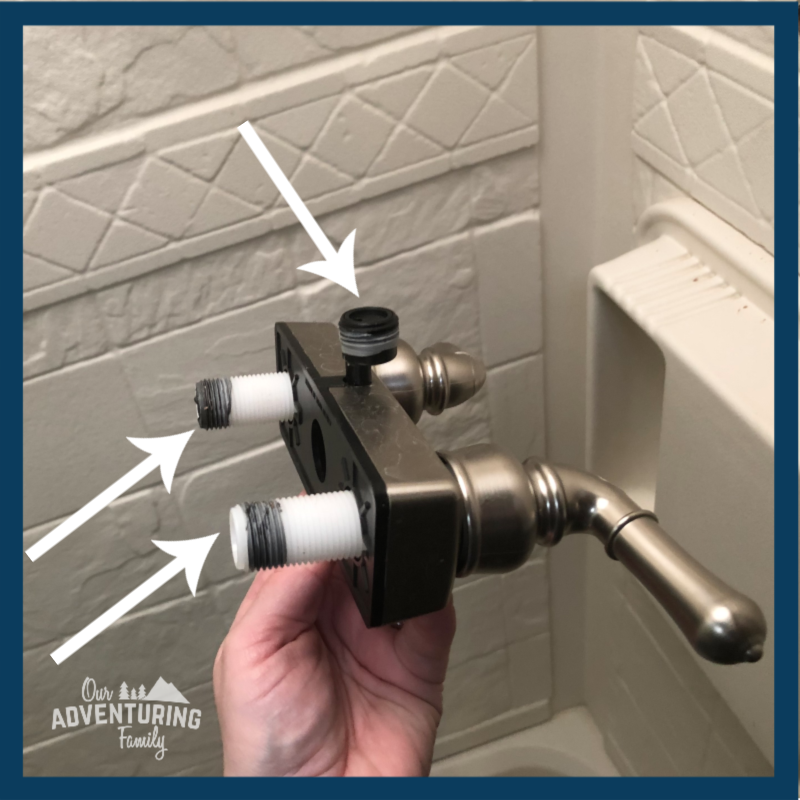
9. Wrap Teflon tape on the threads of the new shower head hose attachment and the threaded tubes on the back. Then attach the shower hose to the new handle assembly.
10. Put the handle assembly into place where the old one was.
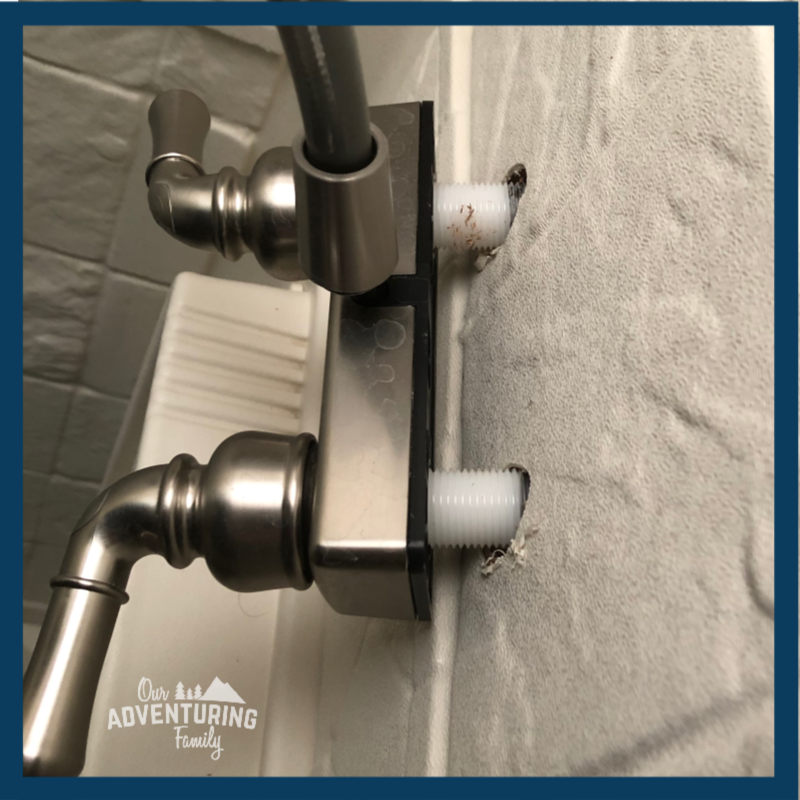
Now it’s time to reconnect the water pipe attachments, going in reverse of how you disconnected them.
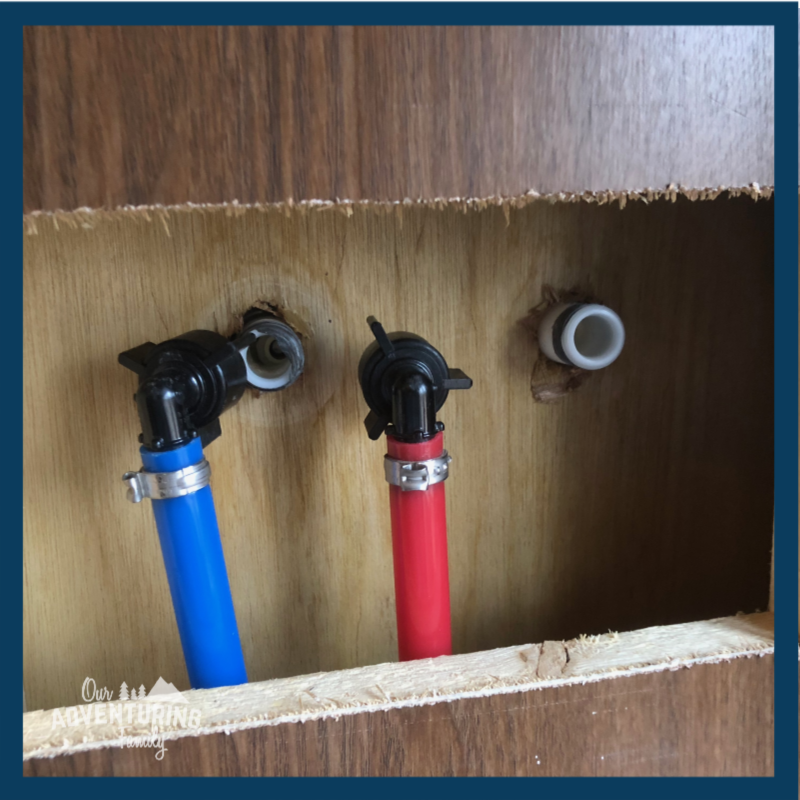
11. Go back to the access hatch and screw the plastic bolts onto the threaded tubes so that the handle assembly is snug against the shower wall.
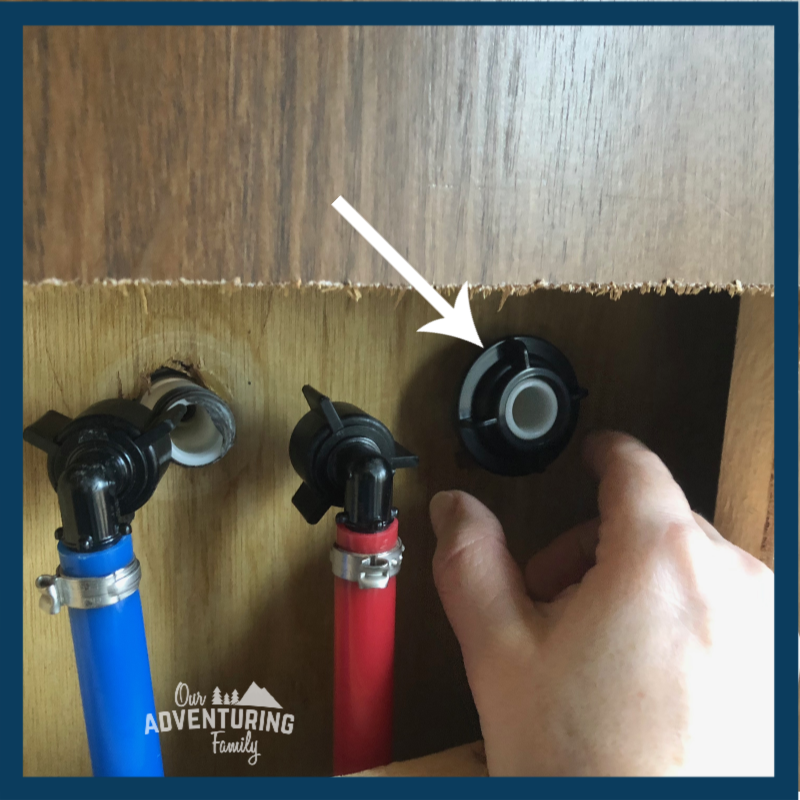
12. Screw the plastic bolts on the colored water pipes onto the threaded tubes.
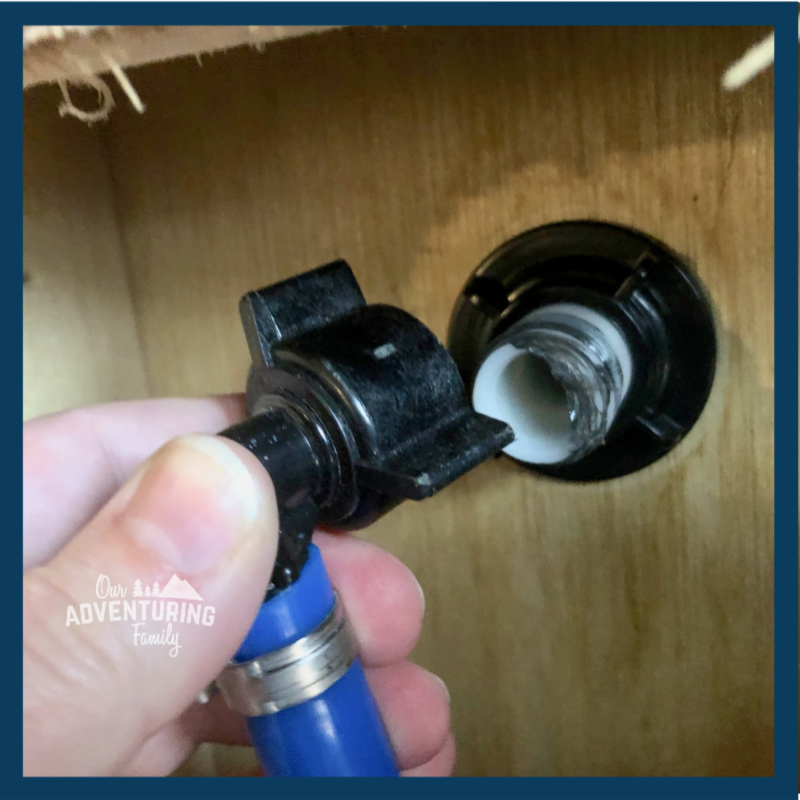
13. Make sure all attachments are snug, but don’t over tighten the bolts. Reconnect your water source or turn the water pump on, then turn on the water in the shower. Be sure to turn both handles to expel the air from the pipes and then check the connections for leaks. Tighten connections as needed.
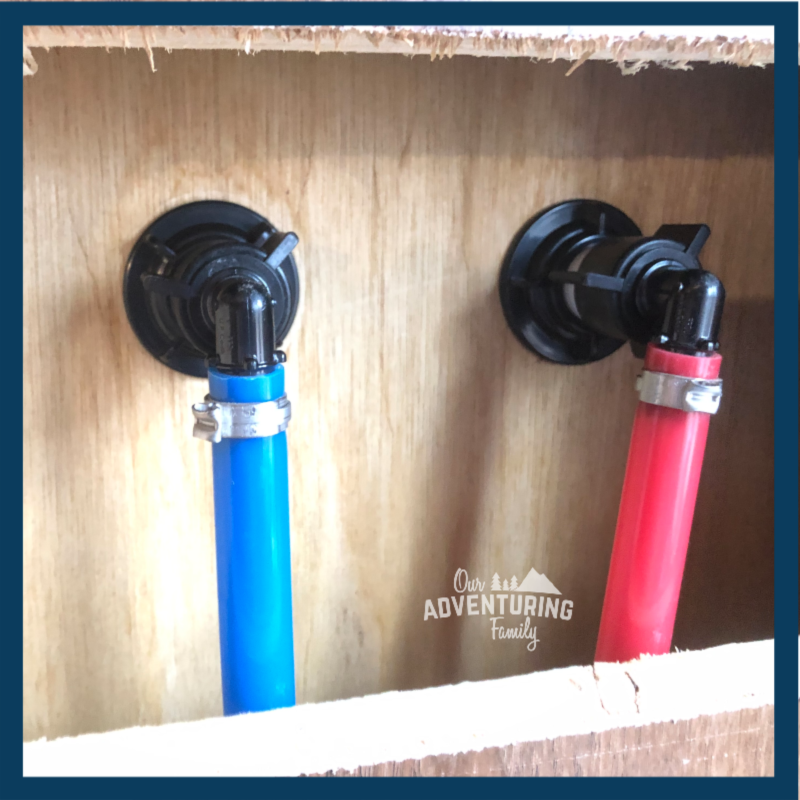
14. Once you’re satisfied there’s no leaks, close up the access hatch.

Enjoy your new shower handles and always knowing how hot or cold your shower water is!
If you’re looking for more ways to quickly and easily update your RV kitchen or bathroom, check out this post.
~~~~~
Did you find this tutorial helpful? Would you like more like it? What specific tutorials would you like to see?
Pin this for later:
